Computers are the backbone of modern society, integral to work, school, and entertainment. However, high-end prebuilt computers can often be overpriced. In fact, buying a prebuilt PC can cost up to 1.5 to 2 times what it would if you built it yourself. The best part? Building your own is easier than you think!
If you’re building your own PC, chances are you’re doing it for gaming. While basic desktops can be purchased for under $200, building your own gaming PC is a smarter move—especially when you consider the performance-to-cost benefits. But don’t worry; even if you’re building a non-gaming PC, the same principles apply, although some steps may differ.
If you already have your parts picked out and know they’re compatible, you can skip straight to the assembly guide. But if you’re just getting started, let’s go over the basics and ensure your components will work perfectly together.
Step 1 – Hardware choices
When building a PC the first step is to ensure you have the right parts. In many cases parts arn’t compatible with each other, and we will discuss which parts are compatible with others. Either way, you need a clear budget, an idea of what tasks the pc will be used for, and also an idea of what you want the PC to look like.
Compatibility
The main things you need to consider is the motherboard, the CPU, in some cases the GPU, and the rest usually comes down to the size of your case, aswell as connectors on your motherboard.
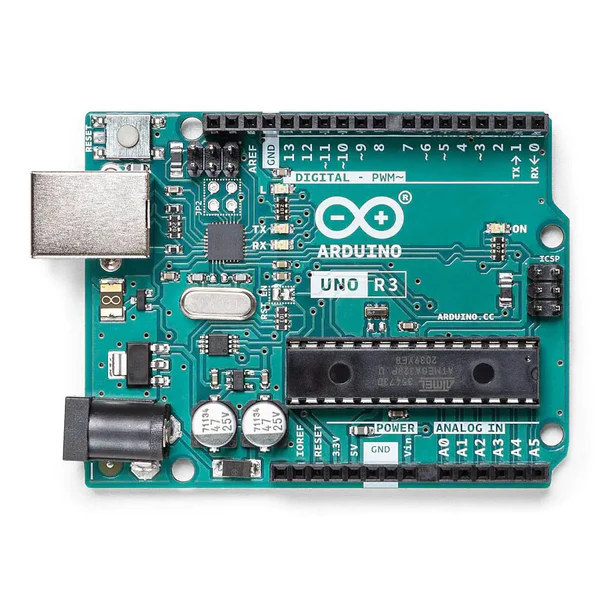
CPU- There are 2 CPU sockets types, LGA and AM4. LGA sockets can fit Intel CPU’s, whereas AM4 fit Ryzen CPU’s. When deciding which to use, it’s completely based on preference, there isn’t a clear winner, some Intel CPU’s perform better then Ryzen CPU’s and vice versa. Usually for gaming a 6-core to 8-core processor. Both CPU’s have benefits and weaknesses.
| Feature | Intel CPUs | Ryzen CPU |
| Gaming Performance | Slight edge in single-core performance, ideal for high FPS in older games | Excellent performance, competitive with Intel, strong in multi-core tasks |
| Price-to-performance | More expensive for similar performance, but high-end models offer top-tier performance | Often offers better value, especially in mid-range and budget builds |
| Multi-Core Performance | Strong, but generally not as good as Ryzen in multi-threaded workloads | Excellent multi-core performance, great for modern games and multitasking |
| Power Efficiency | Efficient, but high-end models can consume more power under load | Very efficient, lower power consumption for similar or better performance |
| Upgrading Path | Newer socket (LGA 1700) with limited upgrade options for future Intel CPUs | Great upgrade path, many AM4 chips compatible with newer Ryzen models |
| Price Range | Typically higher cost, especially for top-tier models | More affordable, often better value for mid-range gaming builds |
| Best for | Players looking for raw single-core performance and high-end gaming | Players who want strong performance at a better price, especially for multitasking and modern games |
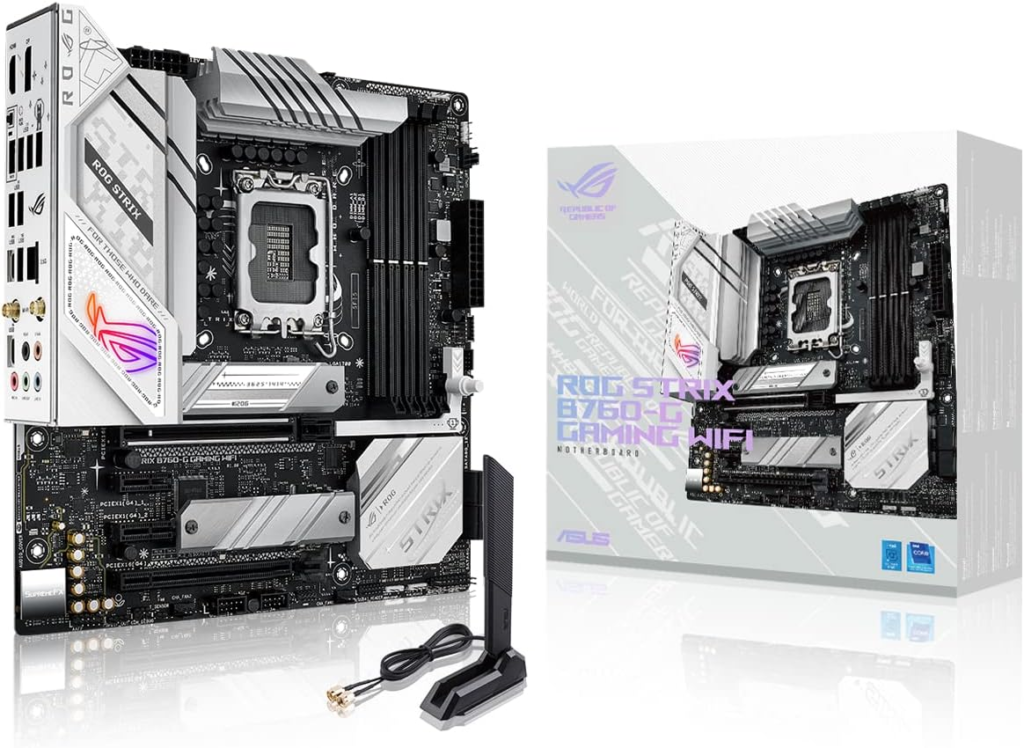
If you choose Intel:
If you decide Intel is better suited for you, ensure you purchase a LGA socket motherboard.
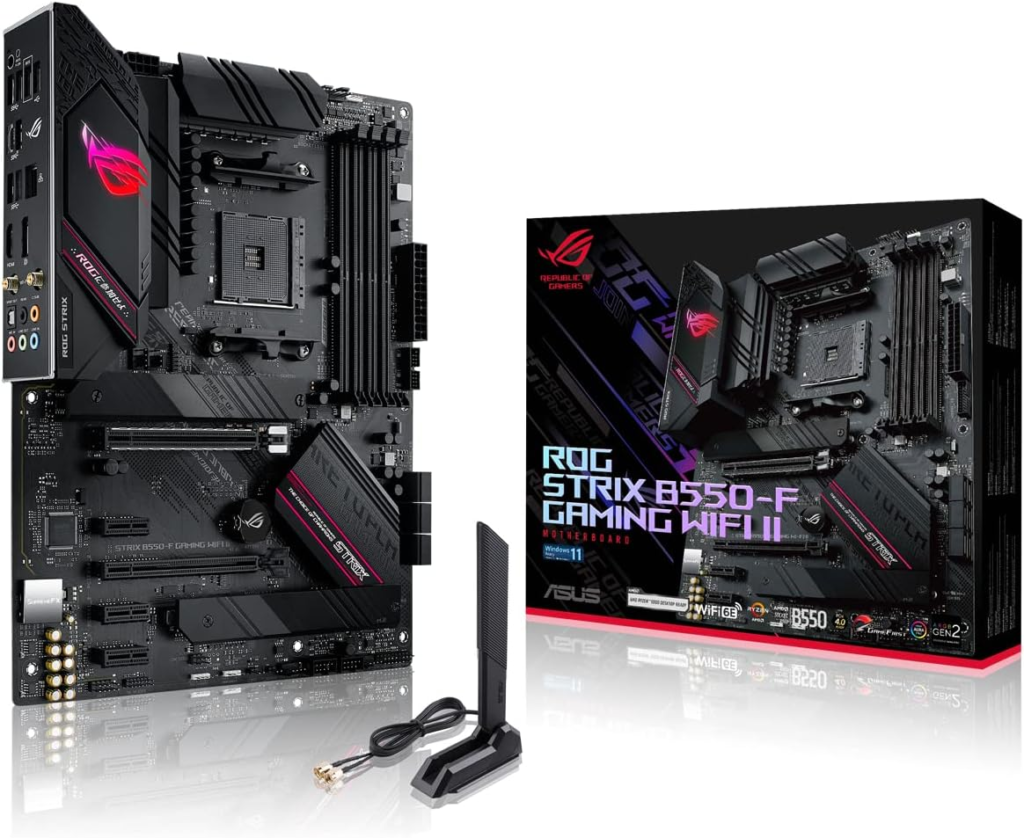
If you choose Ryzen:
If Ryzen is better suited for you, ensure you purchase an AM4 socket motherboard
Here is a solid recommendation for each
Case
The case isn’t as detrimental to your build, It’s almost completely down to preference. A bigger case Can store large components, but most medium size cases can fit every motherboard, GPU and PSU which are the 3 largest components.
If your planning on building a very high-end pc, choose a case with many slots for fans, as cooling is a key consideration, as it can break components when not supplies with sufficient cooling. Other then that, it’s completely up to preference! Choose whichever colour, shape and size you like, although odd shaped cases can make it more difficult to install components.
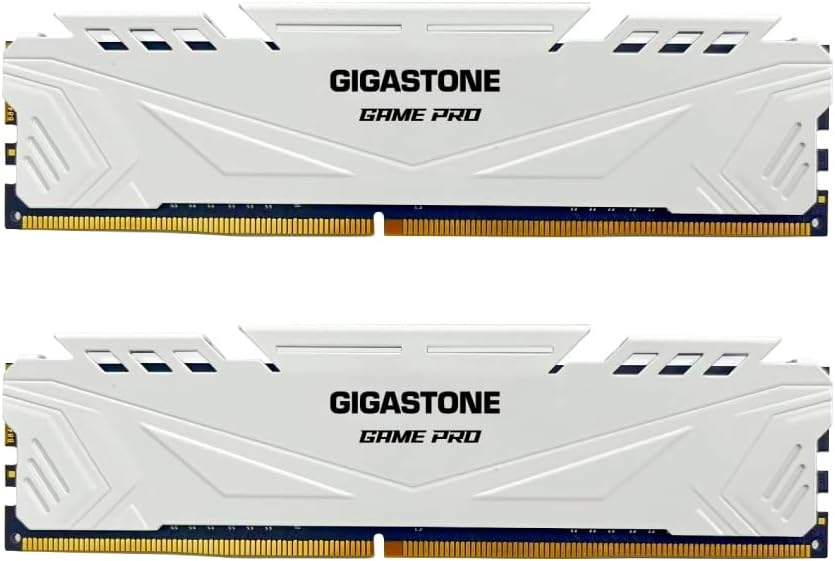
RAM (Random access memory)
Ram is also an important consideration for your gaming pc, compatibility wise, not so much. If your looking to purchase RAM you will come across 3 types. DDR3, DDR4 and DDR5, each being better then the previous. Most motherboard will at least support DDR4, but check your motherboard specifications first to ensure it’s compatible.
We suggest for gaming: DDR4 RAM, 16Gb+, 3200 HMZ (2 Sticks of 8 Gb RAM)
GPU (Graphics Card)
For gaming, graphics cards are one of the most important components, but rarely have compatibility issues. As long as the motherboard you choose has a PCIe x16 slot, almost every graphics card will work. The only limitations are your case, PCIe version, Power supply, and Bios. These are rare issues though, old motherboards do generally have issues with newer graphics cards, but it’s safe to assume if your building a PC and choose a high end graphics card, you wont be using a 15 year old motherboard.
For recommendations on what Graphics card to use, refer to this page.
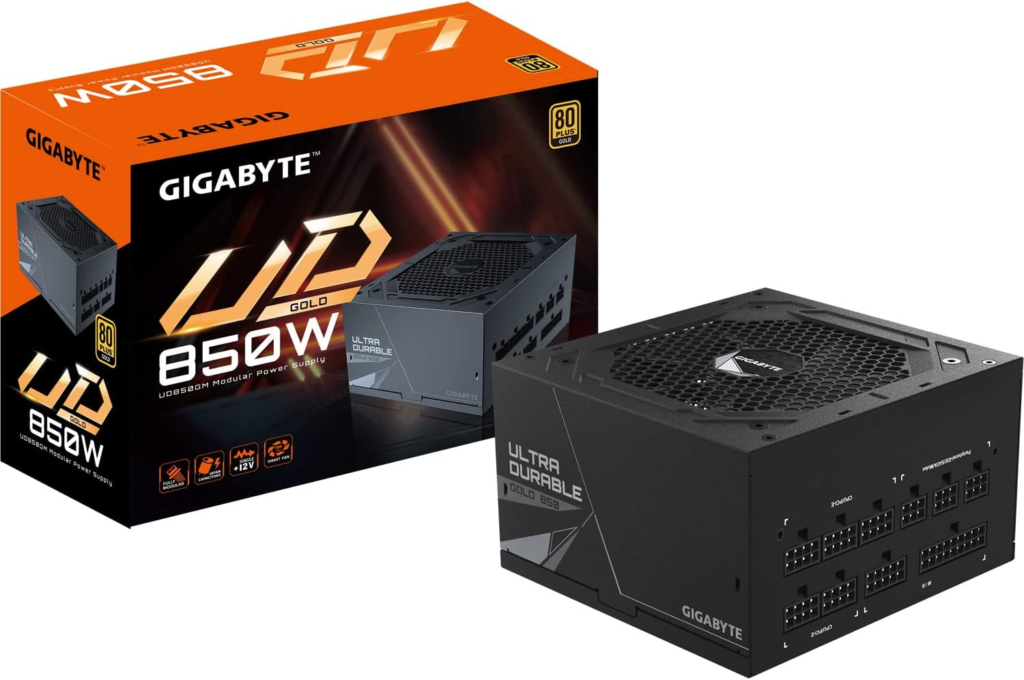
Power Supply
Your power supply can be one of your biggest limitations. If your PC isn’t supplied with enough power, your components either won’t work, or wont be able to run at max performance. Your Power supply should have around 800 W for a mid-high end build and 1000 if using the newest components.
Check the power requirements of each of your components, add them up, and add 200W for when components have power spikes. This is what Wattage power supply you should purchase.
Storage
Storage usually doesn’t have many compatibility issues. The only limitation is how many slots you have on your motherboard. To decide on which storage you need visit this page | HDD vs SSD vs M.2 NVME. For the amount of storage, we recommend around 1-2TB if your planning on storing a fair amount of games and files, and around 4 if you plan on using it as a main storage for images, videos, games and whatever other documents you may store just to be safe.
Cooling
Cooling is extremely important when building a pc, and luckily one of the cheapest purchases. When cooling the whole pc you use case connected fans, which both pull in cold air and push out warm air. Having 2 case fans is usually enough, but feel free to add as many as your case and motherboard can support.
There are 2 Types of cooling methods for the CPU. Fan cooling and Water cooling. Water cooling will be covered in a separate blog for how to install, but for now, if your just considering building a pc, read this article to decide if water cooling or air cooling is for you | Water Cooling vs Air Cooling.
When you buy a CPU it usually comes with a fan to use alongside, and if it doesn’t you can find hundreds of options online for very cheap. Be careful not to purchase a fan too large as it may interfere with the RAM.
Step 2 | How to assemble your parts
Now you have all your parts ensure you have a clean area to assemble your PC as there are many small screws that are important for assembly, so do not lose them.
1.Motherboard
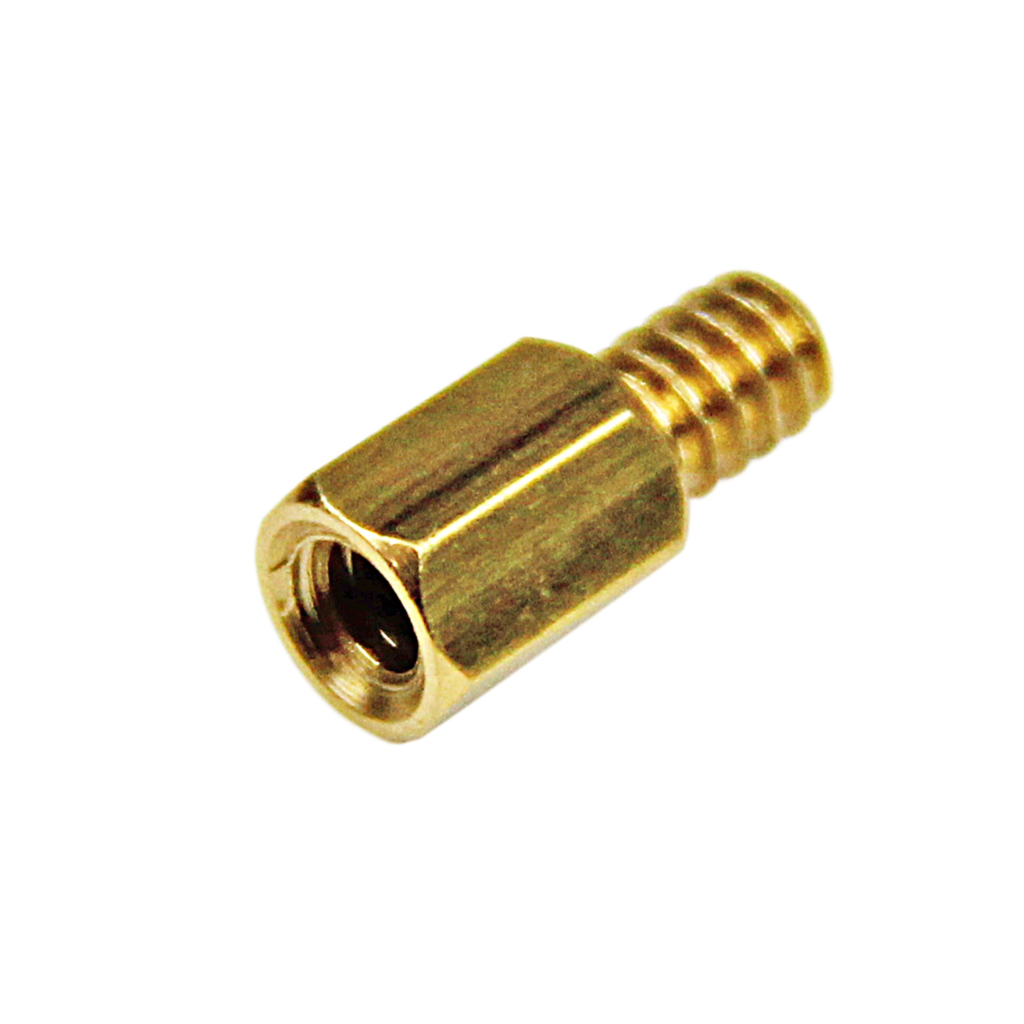
Mounting the Standoffs
Before placing your motherboard inside the case, you need to install the standoffs. These are small, screw-like mounts that elevate the motherboard, preventing direct contact with the case and avoiding electrical shorts.
- Standoffs are screwed into pre-designated holes inside the case.
- Most cases require 6 to 9 standoffs, depending on the size (form factor) of your motherboard.
- If you’re unsure what a standoff looks like, they typically come with your case and resemble small brass risers.
Securing the Motherboard
Once the standoffs are installed:
- Align your motherboard with the standoffs.
- Gently place it down, ensuring the I/O ports fit through the rear panel cutout.
- Use the small screws (supplied with the case) to secure the motherboard to the standoffs.
Here is an reference photo to where you would screw these.
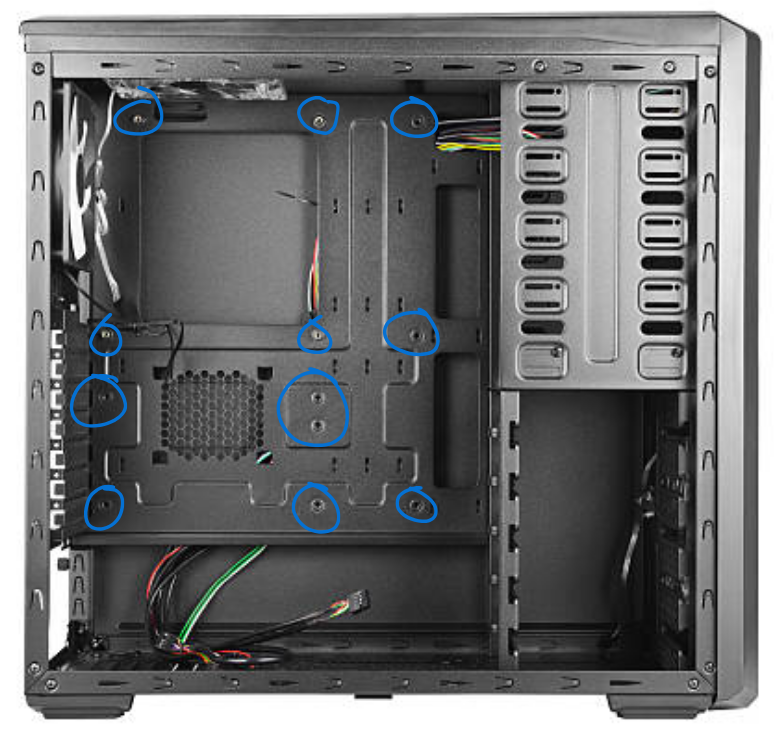
✅ Tip: Do not overtighten the screws, as this can damage the motherboard. Just tighten them enough to hold the board firmly in place.
2. Graphics Card
Since the graphics card (GPU) is one of the largest and most power-hungry components, it should be installed next.
Finding the PCIe x16 Slot
Your graphics card must be inserted into the PCIe x16 slot on the motherboard. This is the longest PCIe slot, usually positioned closest to the CPU socket.
Press the latch down before inserting the GPU.
Locate the PCIe latch: On the left side of the slot, there is a small lever that locks the GPU in place. as seen in the image above.
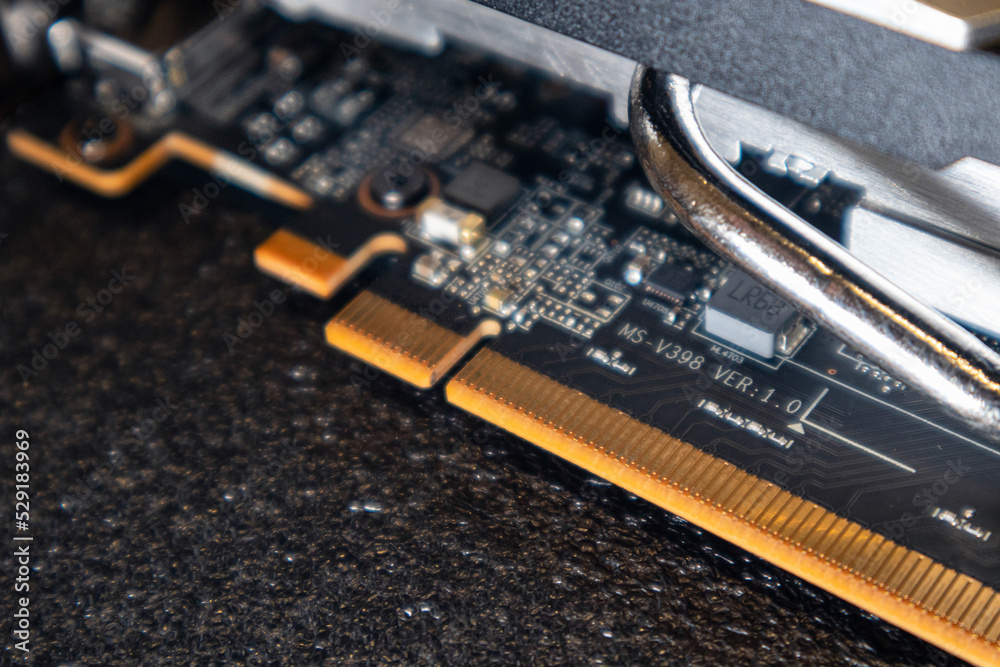
Here is the part you need to slot in.
Installing the Graphics Card
- Line up the graphics card with the PCIe x16 slot.
- Gently push the card down until you hear a click—the latch should automatically snap back up to secure it.
- Secure the card to the case using screws (found in your case’s accessory kit).
- Connect power cables (if required). Most modern GPUs need 6-pin, 8-pin, or multiple power connectors from the power supply unit (PSU).
✅ Tip: Never force the GPU into the slot—it should fit smoothly. If it doesn’t, double-check that it’s aligned correctly.
3. Installing Storage and Power Supply
Now that the motherboard and graphics card are installed, the next step is to install your storage devices and power supply unit (PSU).
1. Installing Storage (SSD/HDD)
Your PC needs storage to hold the operating system, games, and files. There are three common types of storage:
- M.2 NVMe SSD – Ultra-fast, mounts directly onto the motherboard.
- 2.5″ SATA SSD – Smaller and faster than an HDD, connected via SATA cables.
- 3.5″ HDD – Larger and slower but offers high capacity, also connected via SATA cables.
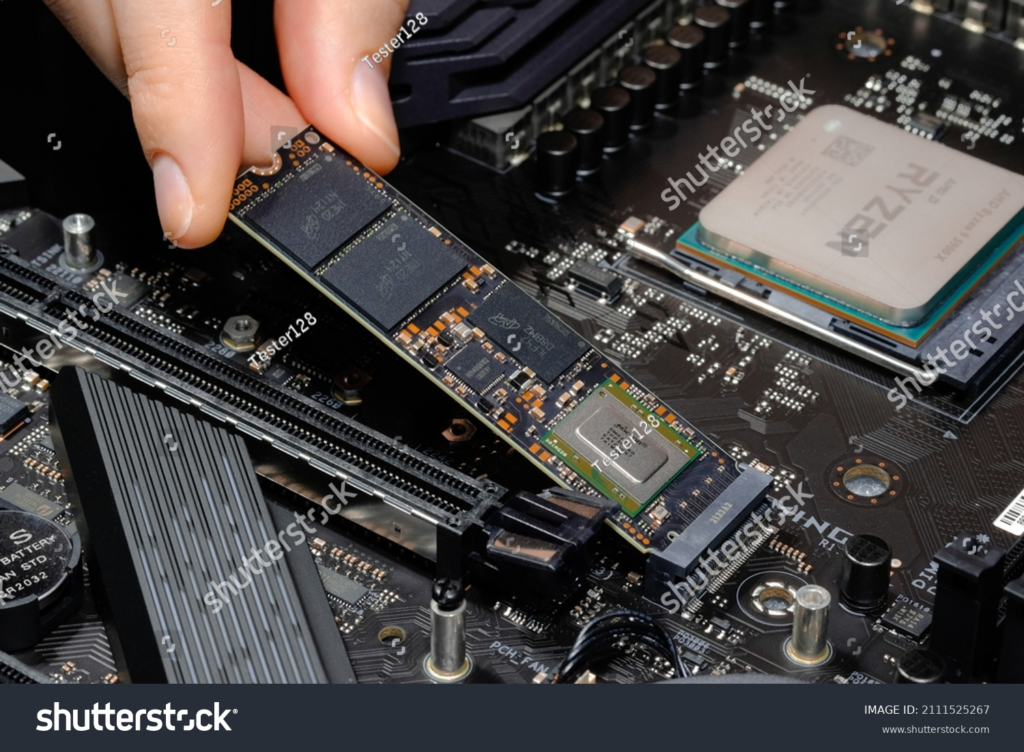
Installing an M.2 NVMe SSD
- Locate the M.2 slot on your motherboard (usually near the PCIe slots).
- Unscrew the M.2 mounting screw from the motherboard.
- Insert the SSD into the slot at a slight angle (about 30°).
- Push it down gently and secure it with the M.2 screw.
✅ Tip: Some motherboards come with M.2 heatsinks—install these if available to help with cooling.
Installing a 2.5″ SATA SSD or 3.5″ HDD
- Find an empty drive bay in your case.
- Slide the drive into the bay and secure it with screws (or tool-less brackets, if your case supports them).
- Connect a SATA data cable from the drive to the motherboard.
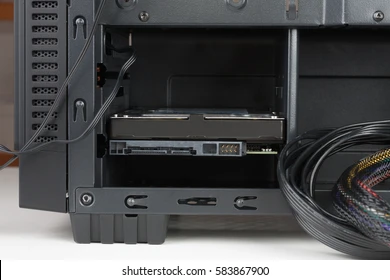
Refer to your Motherboards guide to where your SATA Data cable is plugged in.
4. Installing the Power Supply (PSU)
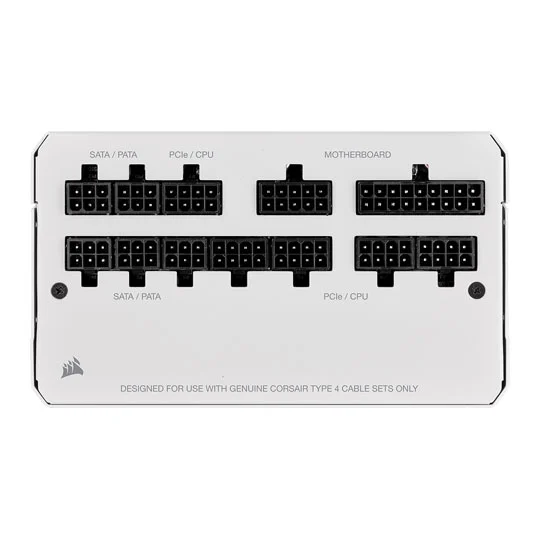
The power supply unit (PSU) provides power to all your components. Most PSUs are modular, semi-modular, or non-modular:
- Modular – You only connect the cables you need.
- Semi-Modular – Some cables (like motherboard and CPU power) are pre-attached.
- Non-Modular – All cables are permanently attached.
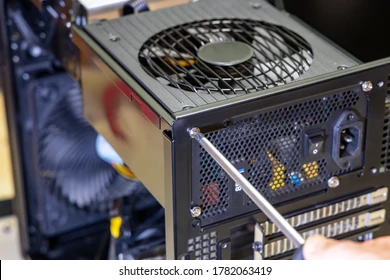
Mounting the PSU
- Locate the PSU compartment (usually at the bottom or top-rear of the case).
- Orient the PSU with the fan facing downward if your case has ventilation at the bottom. Otherwise, face the fan upward.
- Slide the PSU into place and secure it with screws at the back.
Connecting Power Cables
- 24-Pin Motherboard Power – The largest connector, plugs into the motherboard.
- 8-Pin CPU Power – Plugs into the top-left of the motherboard.
- PCIe Power (if needed) – Plugs into the graphics card (6-pin, 8-pin, or both).
- SATA Power – Connects to SSDs, HDDs, and some case accessories.
- Peripheral (Molex) Power – Used for some case fans or accessories.
✅ Tip: Route the cables neatly behind the case’s cable management cutouts to improve airflow and aesthetics.
Also ensure to plug in your Hard Drive/SSD into the SATA slot.
5. Installing the CPU
he CPU (Central Processing Unit) is the brain of your computer, handling all processing tasks. Installing it requires careful handling, as CPUs are delicate and can be easily damaged.
1. Preparing the CPU Socket
Before installing the CPU, you need to prepare the motherboard’s CPU socket:
- Locate the CPU socket on the motherboard. It’s usually covered by a protective plastic cap.
- Lift the retention arm – This unlocks the socket, allowing you to place the CPU inside.
- Remove the plastic cover (if your motherboard has one). In most cases, the cover will automatically pop off when you secure the CPU later.
✅ Tip: Keep the plastic cover safe. Some motherboard manufacturers require it for warranty purposes.
2. Installing the CPU
Now that the socket is open, it’s time to install the CPU.
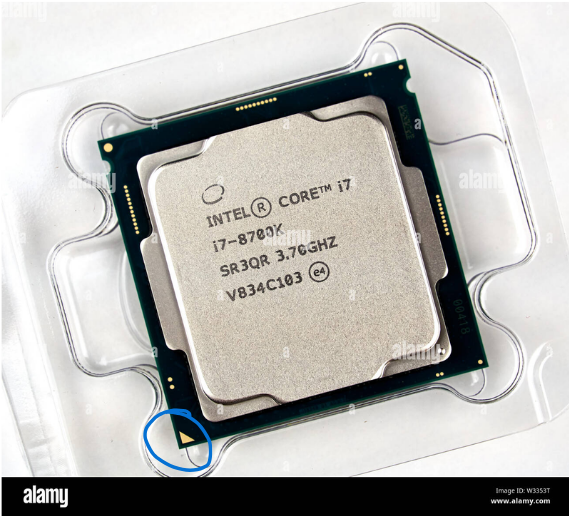
For Intel CPUs (LGA Socket)
- Hold the CPU by the edges – Never touch the gold contacts on the bottom.
- Align the CPU correctly – Look for a small triangle on one corner of the CPU and match it with the triangle on the motherboard socket.
- Gently place the CPU into the socket – Do not force it! It should drop in naturally without any pressure.
- Lower the retention arm back down and secure it under the latch.

✅ Note: The socket’s metal bracket may feel like it’s applying pressure—this is normal.
For AMD CPUs (AM4/AM5 Socket)
- Hold the CPU by the edges, avoiding the gold pins underneath.
- Find the small triangle on the CPU and match it with the triangle on the socket.
- Gently place the CPU into the socket – Again, do not push it in!
- Lower the retention arm to secure the CPU in place.
✅ Important: AMD CPUs have exposed pins, making them more fragile. Be extra careful to avoid bending them.
3. Applying Thermal Paste (If Needed)
Thermal paste helps transfer heat from the CPU to the cooler. Some CPU coolers come pre-applied with thermal paste, but if yours doesn’t:
- Apply a small pea-sized dot of thermal paste in the center of the CPU.
- Do not spread it manually—the cooler’s pressure will distribute it evenly.
✅ Tip: Too much paste can spill over the CPU, while too little can cause overheating. A pea-sized amount is perfect.
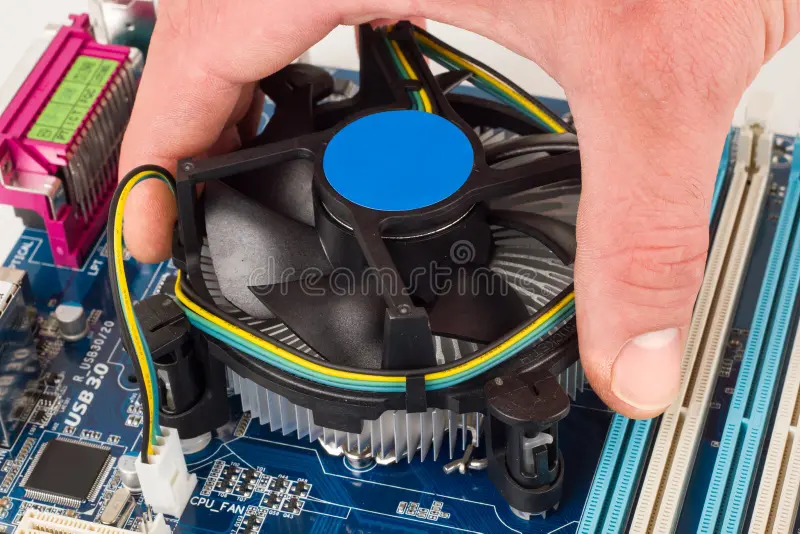
4. Installing the CPU Cooler
After installing the CPU and applying thermal paste, you need to mount the CPU cooler.
- Align the cooler’s mounting brackets with the motherboard’s holes.
- Screw down the cooler evenly, tightening each screw a little at a time in a diagonal pattern.
- Connect the fan cable to the CPU_FAN header on the motherboard (refer to your manual)
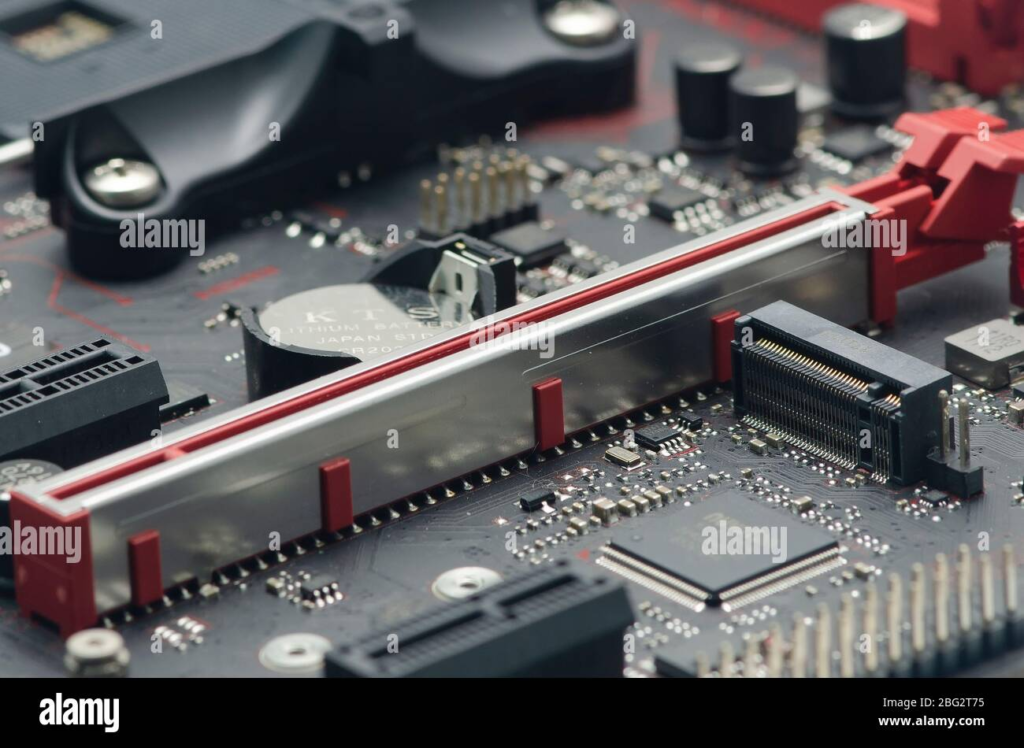
6. Installing RAM
Similar to the GPU the RAM is installed by pushing down the leaver, and slotting the ram in with light force.
There will be a small barrier inside of these slots which will prevent you from placing it the wrong way, if you ram isn’t going in with a fair amount of force, stop and ensure the levers and down, and that you’re placing it the correct way.
If you opted for 2 sticks of ram, place it in the either the 1st and 3rd slot or the 2nd and 4th slot for best performance.
Extra Considerations
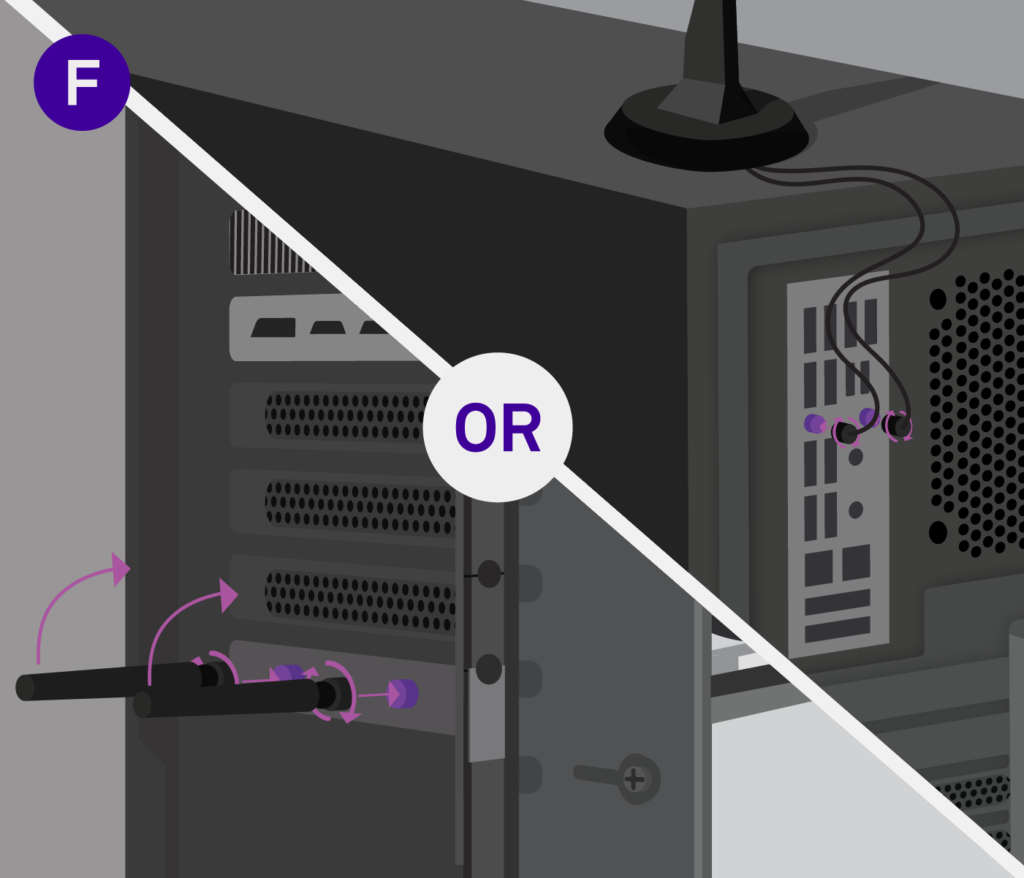
If your motherboard doesn’t include built-in Wi-Fi, you can install a Wi-Fi adapter to connect to wireless networks. There are two main types: PCIe Wi-Fi cards and USB Wi-Fi adapters. PCIe cards slot into an available PCIe x1 slot on your motherboard, offering better performance with external antennas for stronger signals. USB adapters, on the other hand, are more portable and plug directly into a USB port, making them easier to install but sometimes less powerful. After installing the adapter, simply install any necessary drivers, connect to your Wi-Fi network, and you’re good to go!
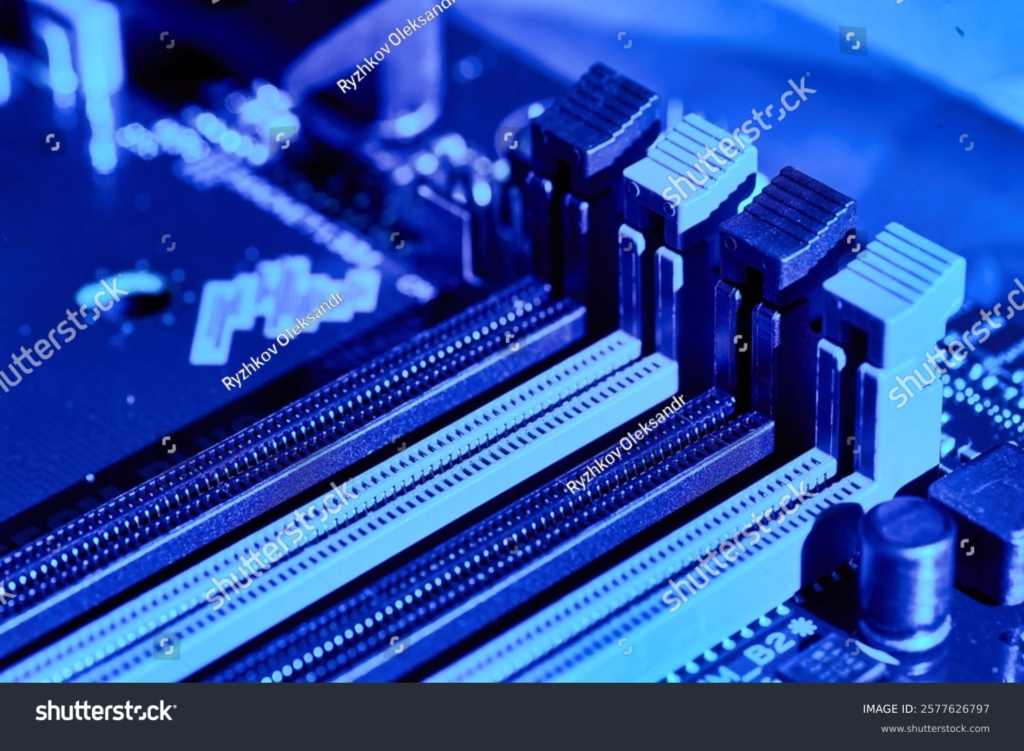
- Locate a PCIe Slot – Find an available PCIe x1 slot (smallest PCIe slot) on your motherboard.
- Insert the Wi-Fi Card – Carefully align the card with the slot and push it down firmly until it clicks into place.
- Secure the Card – Use a screw to secure the bracket to the case.
- Attach Antennas – Screw in the external antennas for better signal reception.
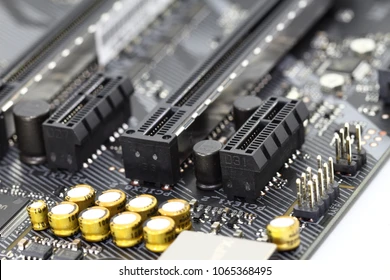
There small slots are PCIe x1
You now should have a fully built PC! Ensure you cable up the power and HDMI/Display adapter and install windows. If your unsure how, refer to our windows installation page.